
John Keeble/Getty Images
We may receive a commission on purchases made from links.
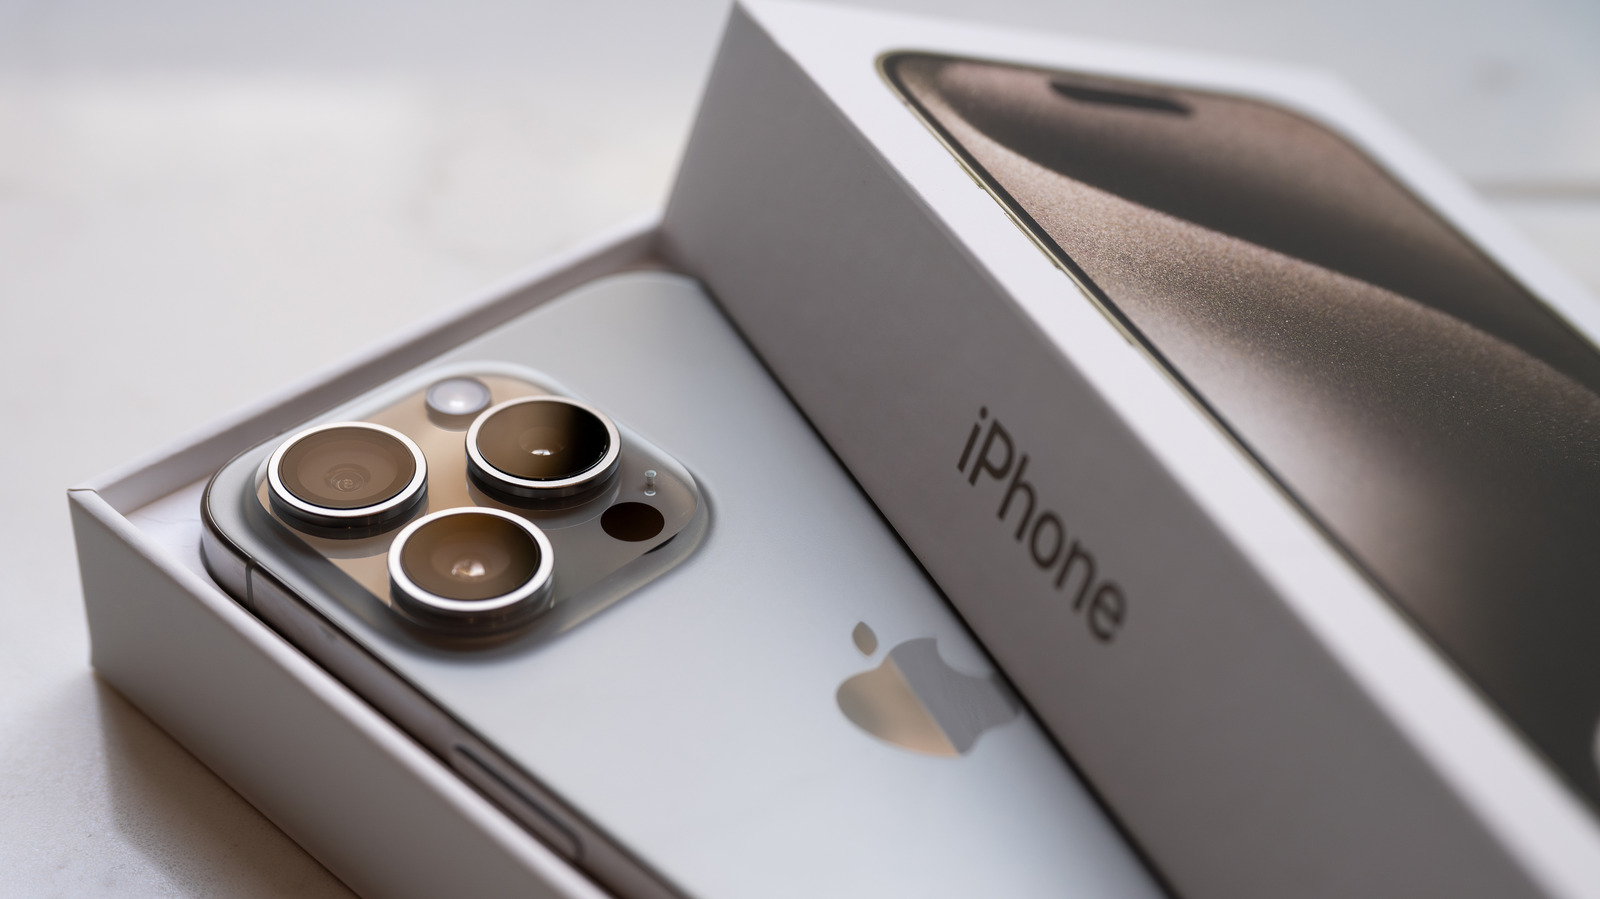
The iPhone camera has come a long way since it was first introduced. In 2023, the iPhone 15 came with mammoth upgrades to its camera, which included a whopping 48-megapixel sensor, 12MP ultra-wide camera, and the ability to take 24-megapixel photos. For the past few years, the quality of the iPhone camera has even evolved to the point that it has even been used for professional films.
Before the age of smartphones, people used to reserve photo taking for life’s big moments, like graduations, proms, birthdays, or weddings. But these days, we document even the most mundane moments of our lives and share them on social media. While it’s easy to take for granted, the rise of quality smartphone cameras has made it possible to connect with other people in unexpected ways.
However, social media is a tricky thing, especially because of its ever-changing algorithms. In some cases, even the people who follow you and want to see your posts may not be able to see them. Thankfully, you can improve your content’s chances of being seen by making engaging content.
While you can define great content in a variety of ways, one practical method to get more eyes on your pictures and videos online is by improving the quality. So, whether you’re a casual user who wants their one post a year to count or a professional content creator who is looking to level up, here are some iPhone tips and tricks that can help you better photos.
Shoot videos in higher quality
Bruce Bennett/Getty Images
A quick and easy way to make your videos significantly better is to change the video shooting quality settings on your iPhone’s camera. To do this, open your Camera app and go to the Video mode. Then, in the upper-right corner, tap HD. Once it reverts to 4K, you’ll be able to shoot videos at a much better quality that will be sure to catch the eye of anyone who scrolls past it.
Additionally, you can adjust your iPhone’s frame rate to match the mood of the videos you want to take. By default, iPhones will use a standard setting of 30 frames per second (fps), which works enough for most people, but many professional videographers recommend using 24 fps. Although shooting at 60 fps is still recommended for videos where your subjects are moving a lot, like dancing or playing sports, many movies are shot at 24 fps because it is associated with a cinematic feel.
To be able to record 4k videos with 24 fps on your iPhone camera, you’ll have to tinker a little bit with your iPhone’s settings. Here’s how to change it.

-
On your iPhone, open the Settings app.
-
Tap Camera > Record Video.
-
In the Record Video tab, select 4K at 24 fps.
Afterward, you can confirm if the setting was enabled by opening the Camera app and navigating towards the Video mode. In the upper-right corner of the screen, you should be able to see the number 24.
Enable composition tools and photographic styles
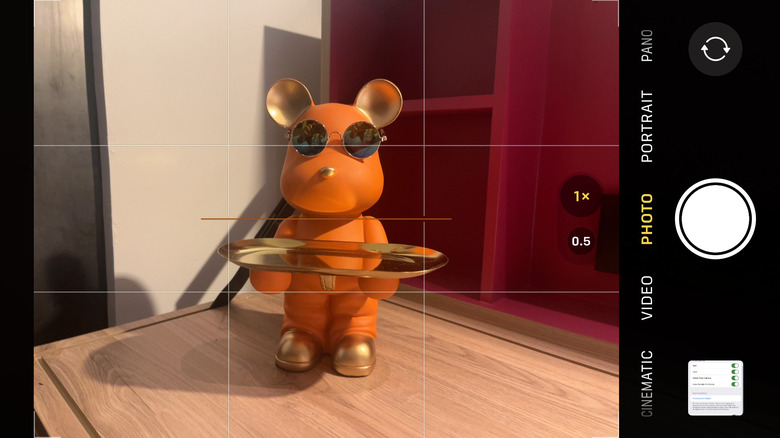
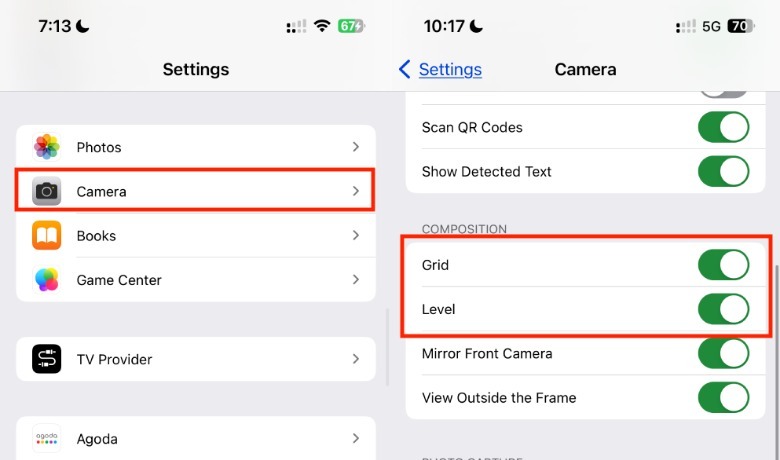
For those of us who were not gifted with a photographer’s eye for composition, Apple has introduced several built-in photography tools to give us a hand, such as the Grid and Level features. With the Grid, your iPhone camera screen will be divided into nine sections that you can use to follow the rule of thirds. On the other hand, Level is just a fancy name for the tool that tells you whether or not your camera is taking a straight photo. To add both the grid and level on your iPhone camera screen, follow these instructions:
-
On your iPhone, open the Settings app.
-
Tap Camera.
-
Under Composition, toggle on the button next to Grid.
-
Below it, toggle on the button next to Level.
Aside from composition tools, you can also do things like lock your camera focus, adjust exposure, and control the use of the flash. While you’re at it, there are a couple of other settings on this page that you should have a look at for photos that look a little more personalized, like Photographic Styles. As of writing, the iPhone camera offers five types of photographic styles: standard, rich contrast, vibrant, warm, and cool. Each style offers variations in tone and warmth, which your iPhone uses as a reference to make adjustments to its photos. While most people stick with the standard style, you might want to choose a different one that is more cohesive with your social media brand.
Use a Bluetooth remote or Apple Watch
mpohodzhay/Shutterstock
Gone are the days of pressing the timer button and getting into position before the camera flashes. While there can be a thrill to running back and forth to press the shutter on your camera, it’s now possible to use a Bluetooth camera remote to take multiple photos from a distance (without losing momentum).
Thankfully, Bluetooth camera remotes aren’t that expensive. For example, the CamKix camera shutter remote control, which has over 19,000 reviews and an average rating of 4.5 stars on Amazon, is $9.99. However, it’s important to note that Bluetooth remotes, in general, are known to only work up to 33 feet or 10 meters away. Knowing this, it’s best to do a few test shots before going all out. Not to mention, you should make sure that you are in a safe location to prevent your iPhone from being stolen.
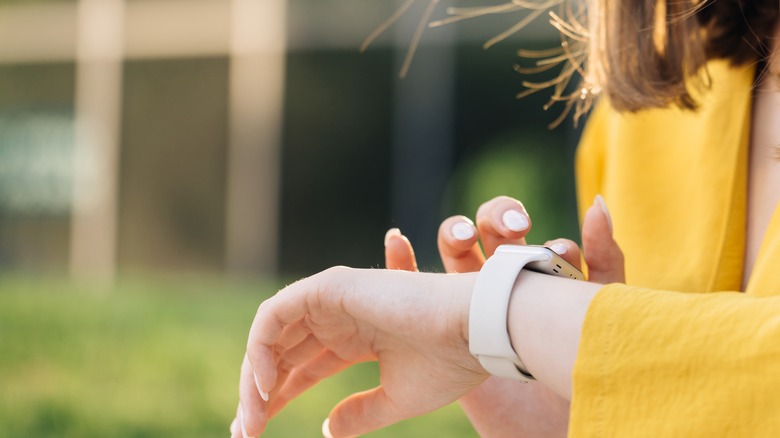
If you already own an Apple Watch, you can also use it as a remote and timer for your iPhone camera. To do this, all you have to do is open the Camera Remote app on your paired Apple Watch and tap the shutter button. However, if you’re not keen on using a remote, you could always still use the built-in iPhone camera timer. To use it, open your iPhone Camera, go to your Photo mode, and tap the upward arrow in the top portion of the screen. Then, tap the Timer button and choose between the three-second or 10-second option.
Experiment with lighting
Su Arslanoglu/Getty Images
In a perfect world, we’d all be blessed to have the right amount of light in our photos every single time, like a golden hour or just the right amount of overcast. Unfortunately, perfect lighting can be elusive, so it helps to invest in a few extra tools to have more consistency. Depending on your setup, you might need to add multiple light sources to add depth to your shots. In the right places and with the right colors, lighting can dramatically enhance your appearance and build a certain mood.
While many people opt to buy ring lights, it’s not the best for when you shoot content facing the camera directly. For some people, the little circle that reflects from your eyes or glasses can be distracting. To avoid this, you can opt for a box light instead, which has a softer light effect. But, if you’re not willing to spend on professional-level lighting, you can also use lamps or bulbs in your house. However, it’s recommended to diffuse the light using paper, cellophane, or fabric to keep it from looking too harsh.
Alternatively, if you’re on holiday and can’t be bothered to bring equipment, you can post-process your photos on your iPhone through the Photos app or third-party photo editing apps like VSCO or Lightroom. While these apps will have templates that you can use, you can also play around with things like warmth, highlights, shadows, brightness, and contrast until you get the vibe you want.
Find the right tripod or gimbal
Blackcat/Getty Images
With the right smartphone tripod, you can shoot content for your social media everywhere. If you’re just shooting photos and videos at home, investing in a more stable tripod that can support your external accessories is ideal. However, if you prefer to shoot outdoors, there are a lot of tripods that can fit small bags, which are great when you’re traveling. There are even tripods with flexible legs that you can use in rough terrain.
Alternatively, you can also use tripods with suction material, which is useful for people who take pictures in a place with a lot of smooth surfaces. For example, if you’re a fitness junkie looking to document your sets, you can simply stick your iPhone to the closest mirror.
For iPhone videographers, smartphone gimbals might give a better bang for your buck. Before the rise of smartphones, gimbals were typically used by professional videographers to create smooth movements in their shots. These days, you can use gimbals to take smoother videos of your next party.
In many ways, gimbals and other similar technology help make photos and videos feel more professional and elegantly done. Unless, of course, you are going for a handheld camera vibe like “The Blair Witch Project.” Some of the most popular gimbals in the market today that work well with smartphones include the Insta360 Flow, Rigiet, and DJI OM 5. But as a last resort, you can also just practice taking smooth videos by hand.
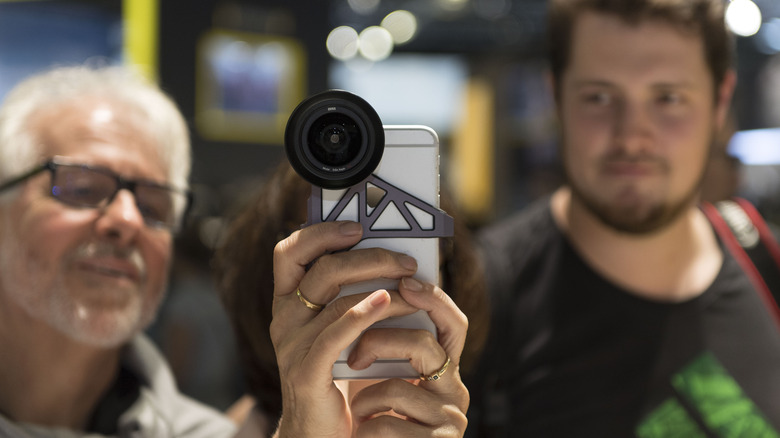
Invest in underwater iPhone camera cases and filters
Marc Pfitzenreuter/Getty Images
While the iPhone’s built-in camera is more than enough for the average person who spends most of their days taking photos of their lunch, the same can’t be said for people who have more adventurous lifestyles. Depending on the kind of content you want to produce, investing in the right lens and filters can mean all the difference, especially for people who love the water.
If you love filling your social media feed with vacation photos from the ocean, you’ll need a way to protect your iPhone. After all, salt water is even worse than fresh water when it comes to damaging electronics. While you can use a regular waterproof pouch for things that are mostly above water, you’ll need something sturdier for deeper dives. To make sure you don’t damage your iPhone, you can invest in special waterproof cases, like the AlCase Waterproof Phone Case, which claims it’s designed to protect your iPhone up to 98 feet.
If you plan to spend a lot of time shooting photos or videos underwater, a red light filter can help make the colors of sea creatures and coral pop. Because of basic color theory, adding a red tint can help warm the natural blue or green tint of underwater photos. Although you can post-process images to your liking, having the right tools can make images feel more special, organic, and maybe even easier to work with.