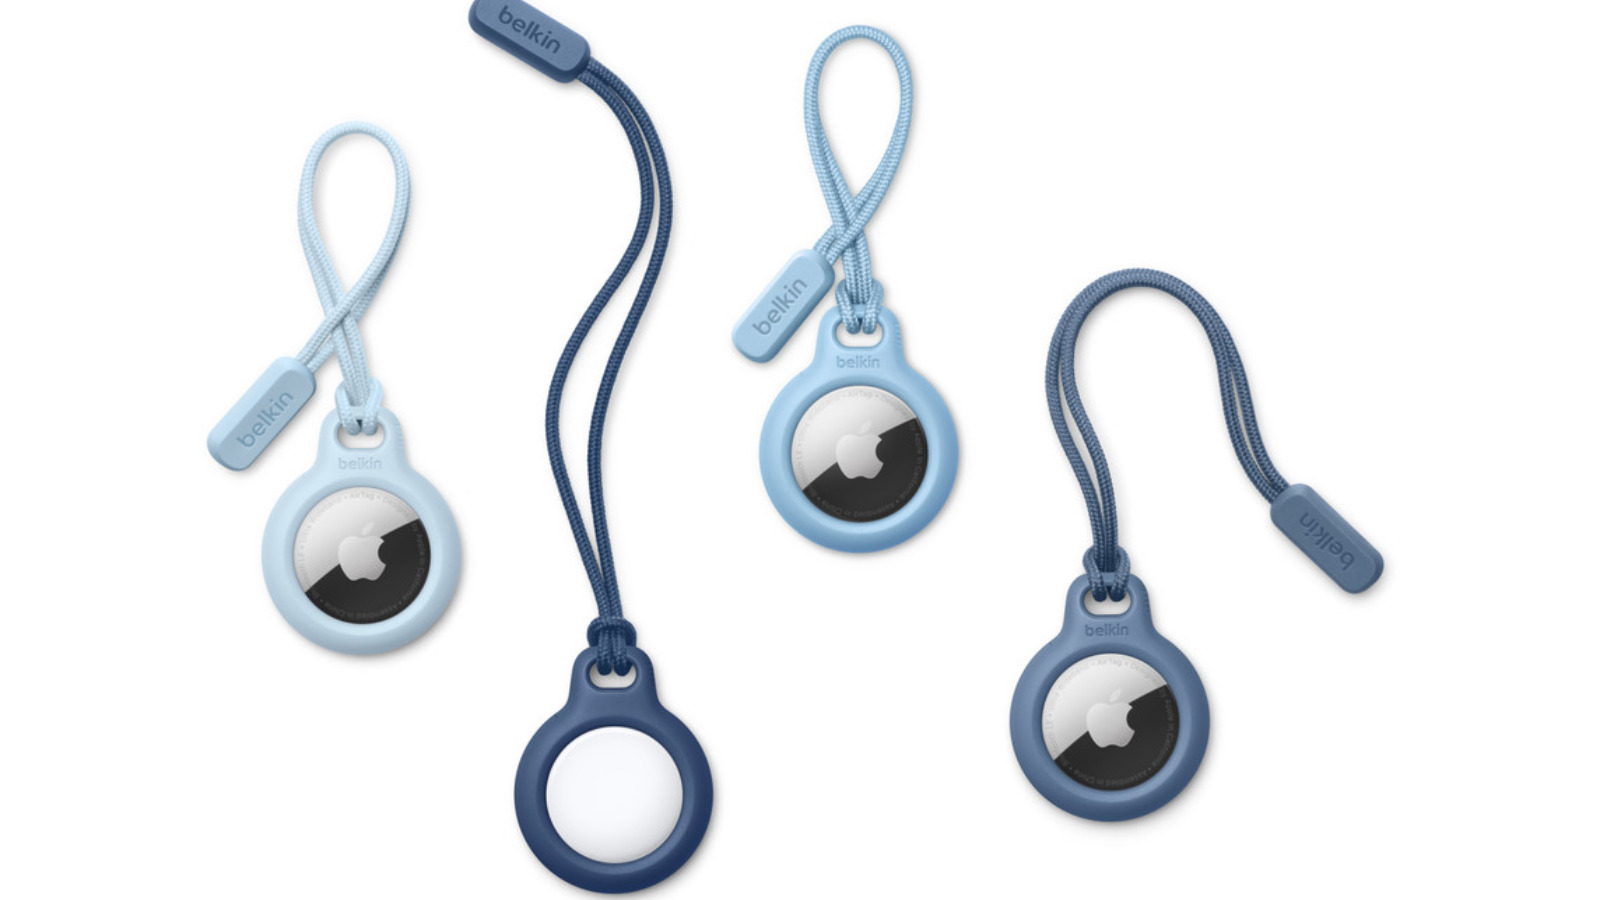
We all have that one friend who always happens to lose their stuff more often than they’d like. It doesn’t matter whether it’s an item as important as their phone or something as trivial as a pen — it won’t take long before they misplace it. If you’re that friend and have had enough of your belongings constantly going missing, then you probably already bought Apple AirTags.
AirTags work via Bluetooth and enable you to locate your things easily using the Find My app; no more hunting around your apartment or retracing your steps down the street. However, while AirTags are indeed a godsend for personal belongings, the same can’t be said for shared or borrowed items. You see, AirTags come with a feature that prevents their owners from using the devices for unwanted tracking. When you travel with an AirTag that isn’t connected to your Apple ID, your iPhone will be notified and the AirTag itself will start beeping to get your attention. This can be quite annoying when you’re using a bag you borrowed from your roommate, or you’re taking the family dog to the park. A workaround for shared items is to attach another AirTag to it, but this isn’t really practical and can feel redundant.
Thankfully, with the release of iOS 17, Apple has finally solved this dilemma. Yes, you can now use one AirTag along with multiple people.
One AirTag paired with two (or more) Apple IDs is possible
For iOS 16 and older, the general rule is one AirTag for one Apple ID. Sure, you can connect a single AirTag to two iPhones at the same time, but those devices need to be signed in to the same Apple account. However, iOS 17 now allows AirTags to be shared with other peoples’ devices too. This means that even if an AirTag is already synced with your Apple ID, your family, friends, or significant other can still add the same AirTag to their Find My apps. Shared AirTags won’t send tracking notifications or make noises when they’re within the AirTag’s reach of the people they’re with. This new feature makes borrowing and sharing belongings a lot less of a hassle.
For AirTag sharing to work, you just need to make sure you and the other person have iCloud Keychain turned on and two-factor authentication enabled. Additionally, ask your family member, friend, or partner to sign in to their iCloud using their Apple ID, or else, they won’t be eligible for AirTag sharing. Once everything’s all set up, you can proceed with sharing your AirTag with at most five different Apple IDs (child Apple IDs don’t work with AirTag sharing).
How to share your AirTag
Sharing an AirTag with anyone with an active Apple ID is pretty straightforward, but first, connect your AirTag to your iPhone if you haven’t already:
- Enable Bluetooth, Wi-Fi, and Location Services on your iPhone.
- Navigate to the home screen.
- If your AirTag is new, pull the plastic battery tab to turn the device on. If it has been used before, reset your AirTag first.
- Place the AirTag close to your phone. You should see an AirTag prompt on your screen.
- Tap on Connect.
- Name your AirTag by either picking a premade name or tapping on Custom Name at the bottom of the list, typing your preferred name, and assigning an emoji.
- Hit Continue.
- Press Agree to proceed with pairing your AirTag and Apple ID.
Now, to share an AirTag, follow these steps:
- Open the Find My app.
- Go to the Items tab.
- Select the AirTag you want to share.
- In the AirTag’s info page, expand the menu.
- Press on Add Person under Share This AirTag.
- Tap Continue.
- In the To field, type the other person’s Apple ID.
- (Optional) Press the plus icon to add more people.
- Tap Share in the upper right corner to finish.
Back on the AirTag’s menu, you should now see the person’s name under Share This AirTag. There will initially be a Pending status next to it, which should disappear once they accepted your AirTag sharing invitation. If you want to stop someone from accessing your AirTag, head over to Find My > Items > [your shared AirTag]. Select the person’s name, press Stop Sharing from the menu, and tap Stop Sharing to proceed. If you want to completely remove all access to your AirTag, scroll down to the bottom of your AirTag’s menu, tap on Stop Sharing, and select the Stop Sharing button on the prompt.
How to add a shared AirTag that you don’t own to your Find My app
If you’re not the owner of an AirTag, but someone shared it with you via Find My, follow these steps to add it:
- On your iPhone, tap on the “Add [AirTag name] to Find My” notification that appears after the owner shares their AirTag with you. Alternatively, navigate to your Find My app and select Items at the bottom of the screen.
- Press Add on the AirTag sharing invitation.
- If, however, you don’t want access to the AirTag, simply select Don’t Add to remove this invitation from your app.
The AirTag should now be listed under Items Shared With Me. You can start using it as you normally would (e.g., make it play a sound, locate it with Precision Finding). If, however, the AirTag’s owner forgot to share it via their Find My app and the device is already traveling with you, all you need to do is tap on the “AirTag Found Moving With You” notification, select Ask Owner to Share AirTag, and press Ask Owner on the prompt to proceed. After the owner shares the AirTag with you, you should see an AirTag sharing invitation in your Find My app.